
First, you must ensure the following programs are opened prior to printing cassettes
-Labelase
-Engraver Manager
-Physical cassette engraver
-CoPath
1. Start Labelase by clicking on icon on the desktop

Once the program is opened, click “Online” at the bottom left
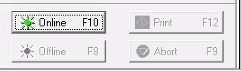
Please note:

(If error is present, ensure cassettes are loaded into machine)
2. Click on Live CoPath Agent (sun icon) on the desktop

Engraver manager will start automatically after 5 minutes
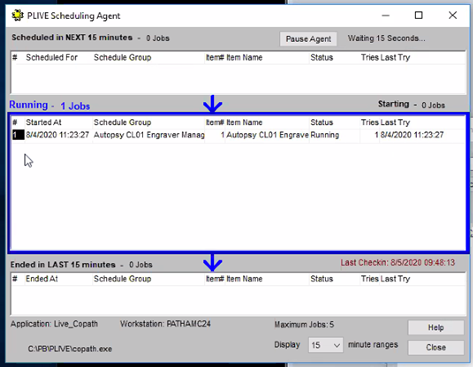
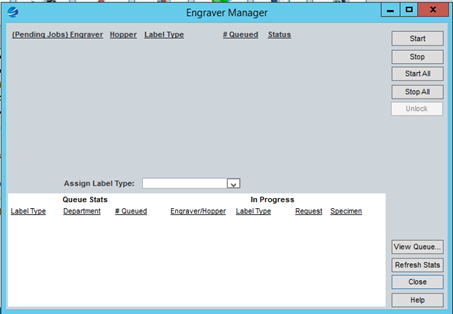
- You can manually this program by going into CoPath (under File tab at top of CoPath window select – Browse Items, then select Engraver Manager from list on right half of screen and clicking on Start when new window pops up)
3. Make sure the Physical Cassette engraver is running (power on and ensure it is online)
4. Start CoPath and sign in with your login credentials
5. Printing the Cassettes
Type in the accession number or scan (overall) case barcode on the consent form
Choose Histology Data Entry/Edit from CoPath menu
Scan the barcode for Part A (body) on consent form
- Hit Save/Engrave button (lower right)
- In the pop-up window, Highlight by Clicking or Shift + Clicking only the cassettes that you wish to print (do not have B blocks highlighted)
- Please do not print cassettes for part B (brain) unless you are certain that the brain will have microscopic examination. They can be printed later as needed.
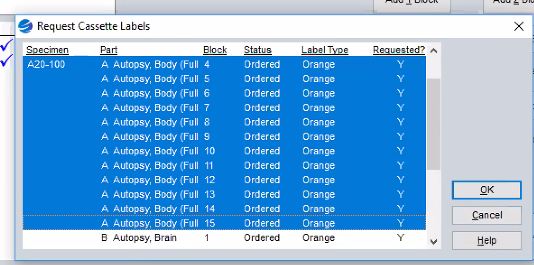
Note: Make sure you deselect Block B if you do not need these printed
6. If you need to add more blocks,
-Ensure that you choose A or B as the Primary Part (seen in screenshot)

Submitting cassettes to Histology
In the morgue:
-In CoPath, under Histology Data Entry/Edit you can type or scan in the case number, then scan the barcodes on the cassettes (in numerical order). If error box pops up for skipped cassette, enter the reason for it not being submitted (decal).
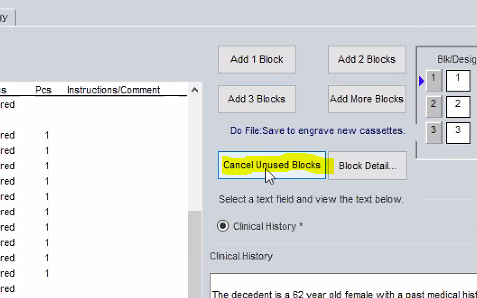
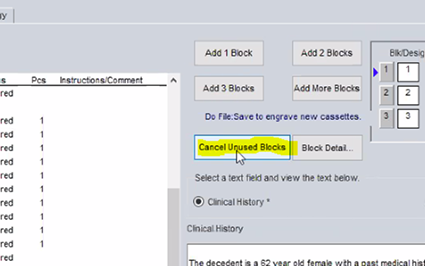
-Cancel any unused blocks/cassettes as needed.
-Hit Save/Next Specimen in lower right corner to save. Then deliver cassettes to Gross Room and place in tissue processor basket.
From AIP third floor:
- Drop off cassettes in gross room (put them in numerical order to make sure they are all there, and make a note if any are missing/are in decal)
- In CoPath, choose "Histology Data Entry/Edit" and type in case number
- Select the "Histology" tab near the top left corner
- Select the "Block Detail..." button at the bottom left corner, and a pop up screen should appear
- Under the "Status" column, select the drop down menu for each cassette and select "Grossed" or "In Decal" (Tip: You can also just start typing "Grossed" or "In Decal" and it will fill in with an auto-text insert) Don't forget to change your in-decal cassettes to "Grossed" when you move them to the gross room!
- Select "OK" at the bottom of the screen
- Go back to the "Materials Matching" tab and check to make sure the status was saved for all cassettes
- Back in the Histology tab, cancel any unused blocks (for example, if a brain exam was included in the consent, but the brain is not removed during the case, please cancel all of the B blocks)
- Click "Save/Next Specimen" to save
Comments
0 comments
Please sign in to leave a comment.